If you have access to a 3D printer, you can find out what proteins and DNA actually look like, and how they work, by printing out models in 3D.
Here are some models that we have printed, and that you can try printing too.
Follow the links provided for:
- More information on each molecule from PDB-101.
- File downloads, and instructions to print and build the models on Thingiverse.
- The structures that the models are based on in the Protein Data Bank (PDB).
Notes on how we printed these models and the different types of protein models (ribbon or surface) are given at the bottom of this page.
DNA |
|
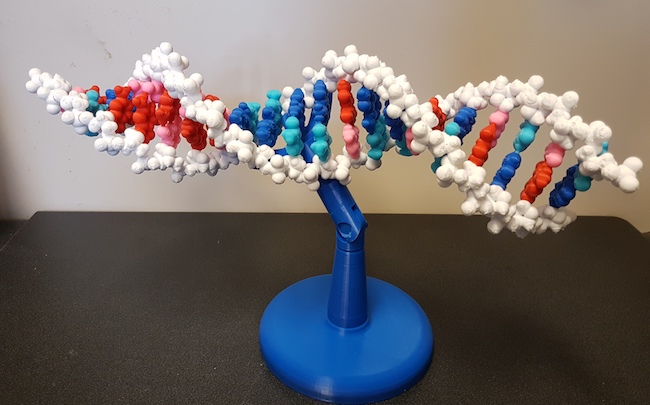 |
You can build this model of DNA by printing out and assembling the four bases and pieces of the DNA backbone. The model shows every atom present in the DNA, and if you print out and build enough pieces, you can see how the DNA curls into a double helix. Folding DNA model kit on Thingiverse by "mkuiper" |
Haemoglobin |
|
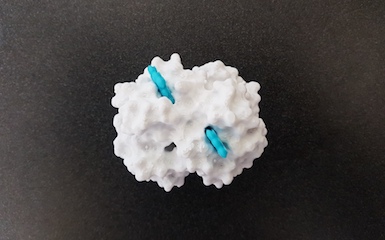 |
Haemoglobin is the protein in your blood that carries oxygen from your lungs to the rest of your body. It is made up of four identical 'globin' proteins that stick together, each of which bind an iron-containing haem molecule. The iron is what binds the oxygen. For this model, you print out the protein and haems separately, then put them together. You will have to reduce the size of the haems so they will fit into the protein. Oxy-Hemoglobin with separate Heme molecules on Thingiverse by "vosslab" PDB entry 1HHO |
Insulin |
|
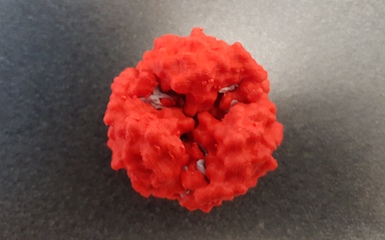 |
Insulin is a small protein hormone that allows your body to use sugar from the food you eat for energy or to store for future use. You can print out one insulin molecule (known as a monomer) or six insulin molecules (3 of A and 3 of B) to make a 'hexamer'. Insulin is stored as hexamers before it is released into the blood. You can stick the insulin molecules together into a hexamer using blu tack. Insulin on Thingiverse by "shami" PDB entry 1INS |
Ubiquitin |
|
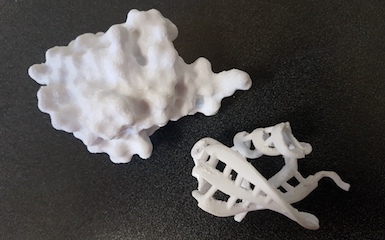 |
Ubiquitin is another small protein. It gets stuck onto other proteins as a signal that they need to be broken down. You can choose to print the protein in a surface representation (top of photo) or a ribbon representation (bottom). Ubiquitin on Thingiverse by "shami" PDB entry 1ubi |
Actin |
|
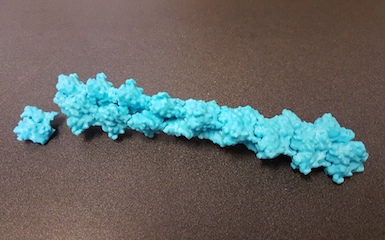 |
Actin protein monomers join together to make long fibres. These fibres make up part of a cell's cytoskeleton, and are important part of muscle. Actin filament construction set on Thingiverse by "destroyer2012" |
RNase A |
|
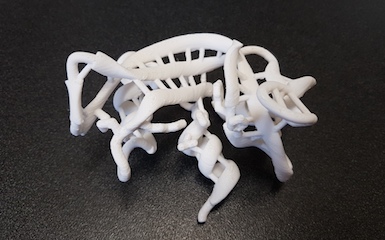 |
RNase or ribonuclease A is an enzyme that cuts up RNA molecules. RNA is similar to DNA, and is important for making proteins. This model is mainly a ribbon representation, but also includes some of the amino acid side chains that are important for the enzyme to work. RNase A on Thingiverse by "shami" PDB entry 5RSA |
| Models we haven't made yet but look good to try: | |
Green Fluorescent Protein |
|
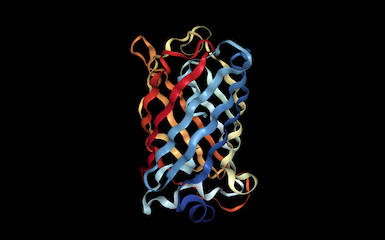 |
Green fluorescent protein or GFP absorbs UV light and then re-emits it, making anything that it is part of glow green in the dark. Green Fluorescent Protein on Thingiverse by "aarono" |
ATP Synthase |
|
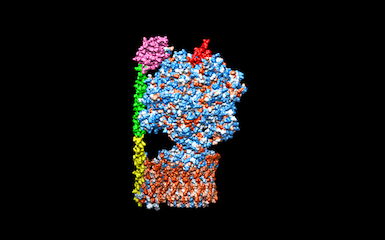 |
ATP Synthase is the essential molecular machine that powers our cells by making ATP. It is made up of two motors, an enzyme, and an ion pump, all working together in one amazing mechanism. ATP Synthase Assembly on Thingiverse by "Munfred" ATP synthase - another model to try on Thingiverse by "chemteacher628" |
Different types of protein models: ribbon or surface
Proteins are very large for molecules, so if you put every atom present into a model (thousands for each protein), it can become confusing. Instead, we make simplified models that show us different things about the protein. The protein models above are depicted in two ways, as ribbon or surface models:
|
|
Notes on printing
The models on this page were all printed using a Lulzbot TAZ6 printer with a heated PEI on glass build plate.
Filament |
For our prints we used PLA+ from eSun (each print used a single colour), except RNase A, for which we used white ABS filament from Wanhao. Make sure the filament diameter setting is correct. We had to change ours from the default of 2.85 mm to 3.0 mm to stop little bumps or 'pimples' happening on the surface of our prints. |
Infill |
Ribbon models 50%, surface models 20% |
Support |
Using the Lulzbot cura software, we elevated each model at least a few mm above the buildplate and added support underneath with the following settings:
|
Finishing |
Remove support structures carefully with a pair of pliers. Where the support attached to the model can leave a rough surface. We smoothed some of the models using small files (you can get a cheap set of these from a hardware store such as Mitre 10 in New Zealand), followed by increasingly fine sandpaper (eg p240, p600, then p1200). |
More information
Help with how to create and print your own models of biomolecules can be found here:
3D Print Your Favorite Protein
Instructables.com: 3D Print a Protein
3D Printing of Biomolecular Models for Research and Pedagogy
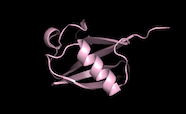 A ribbon model (also known as cartoon) shows just the 'backbone' of the protein. A protein is made up of a long string of amino acids that folds up on itself. In a ribbon model you can see where the long string folds into zig zags and curls.
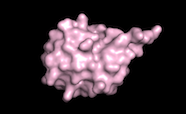 A surface model shows the overall surface of the protein – what it would look like if you had a microscope powerful enough to actually see it (only electron microscopes and a technique called X-ray crystallography are powerful enough to find out what proteins look like). Surface models of proteins usually look very blobby.